A vehicle wrap is one of the most effective ways to turn your car, van, or fleet into a moving billboard for your brand. But getting a flawless finish starts before the installer even picks up a squeegee. A little preparation on your end can mean a smoother installation, a better final result, and a wrap that lasts as long as it should.
Here's what to do before your scheduled wrap installation.
1. Give Your Vehicle a Thorough Clean
This might be the single most important step. Vinyl wraps need a clean, smooth surface to adhere to properly, and any dirt, grease, wax, or road grime left behind can prevent the vinyl from bonding correctly, leading to bubbling, lifting, or premature wear.
What to do: Wash your vehicle thoroughly before your appointment, and avoid applying any wax, sealant, or detailing products in the days leading up to installation, since these can leave a residue that interferes with adhesion.
2. Address Any Existing Damage
Wraps are excellent at transforming the look of a vehicle, but they aren't a fix for underlying paint problems. Dents, rust, deep scratches, or chipped paint can telegraph through the wrap or create weak points where the vinyl doesn't lay flat.
What to do: Handle any necessary bodywork or paint repair before your wrap appointment. If you're unsure whether an issue will affect the wrap, ask your installer during the consultation, they can tell you what needs attention beforehand.
3. Remove Aftermarket Accessories
Roof racks, running boards, mud flaps, and other add-ons can complicate installation around those areas and may need to be removed for a clean, seamless wrap.
What to do: Let your installer know about any aftermarket accessories in advance, and plan to remove what you can before your appointment, or coordinate with the shop if professional removal is needed.
4. Empty Out the Vehicle
While this mostly applies to interior detailing rather than the wrap itself, keeping your vehicle clear of clutter helps the installation process go smoothly, especially if any interior trim or panels need to be accessed.
5. Plan for Downtime
Depending on the size and complexity of the wrap, a full vehicle wrap can take anywhere from a few days to about a week. Partial wraps or single-panel graphics are typically much quicker.
What to do: Arrange alternate transportation for the installation period, and avoid scheduling your wrap right before an event or trip where you'll need the vehicle back immediately.
6. Avoid Driving in Rain or Extreme Temperatures Right Before Your Appointment
Wet or extremely hot/cold conditions right before installation can affect how well surfaces are prepped and how the vinyl responds during application.
What to do: If possible, avoid washing or driving your vehicle in rough weather in the day or two leading up to your appointment, and check in with your installer if weather is a concern.
7. Discuss Design and Placement Ahead of Time
The prep work isn't just physical. Make sure your design files, brand colors, and any specific messaging are finalized and approved before installation day, last-minute design changes can delay the process significantly.
A Smooth Prep Process Means a Better Wrap
Taking these steps before your appointment helps your installer focus on precision and craftsmanship rather than troubleshooting surface issues, and it sets your wrap up to look sharp and last as long as possible.
Ready to Wrap Your Vehicle?
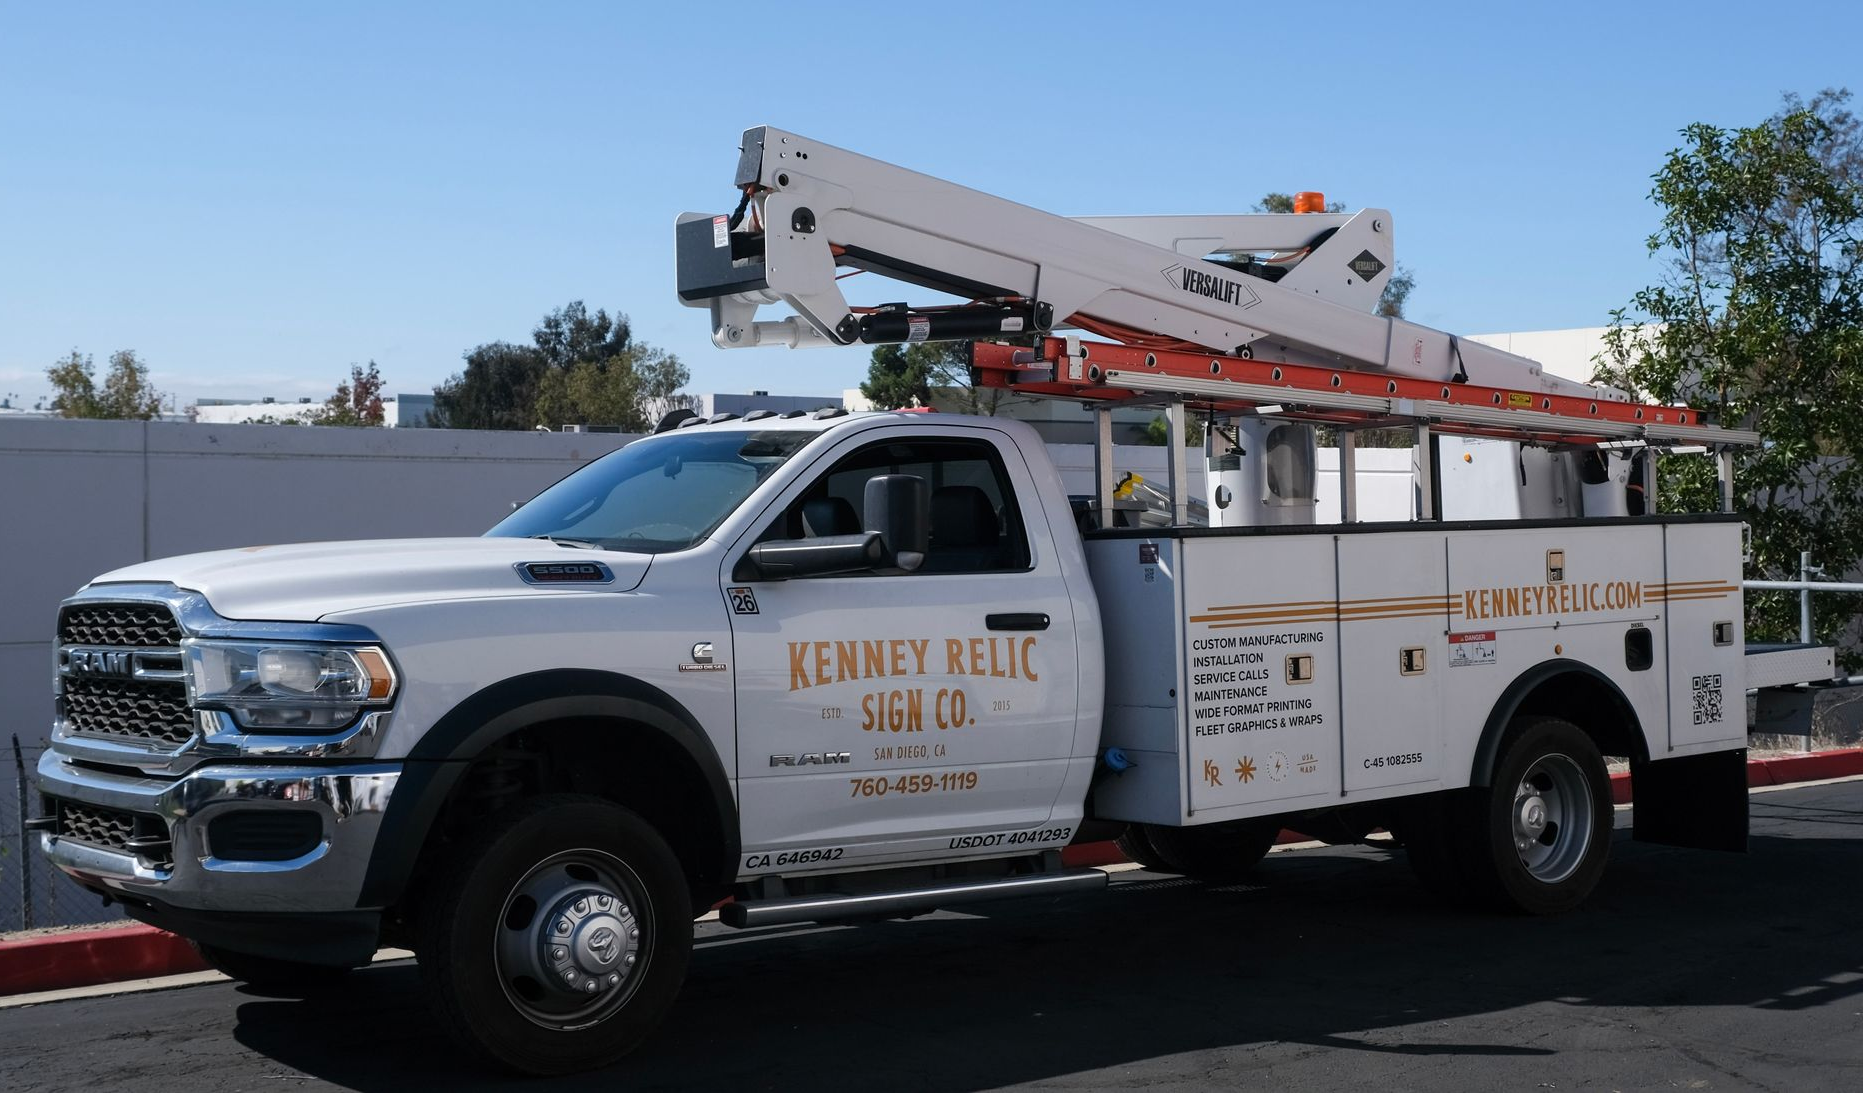
Kenney Relic Sign Co. brings 3M-certified precision to every vehicle wrap and fleet graphics project throughout San Diego and SoCal.
Get started today and let's plan a wrap that gets your business noticed on the road.